Before you start
Have your finished logos and a list of the names, numbers, garment sizes and quantities you need. Use Full screen for more room. The main garment and smaller preview show different sides; check every available side.
Choose the sport or category
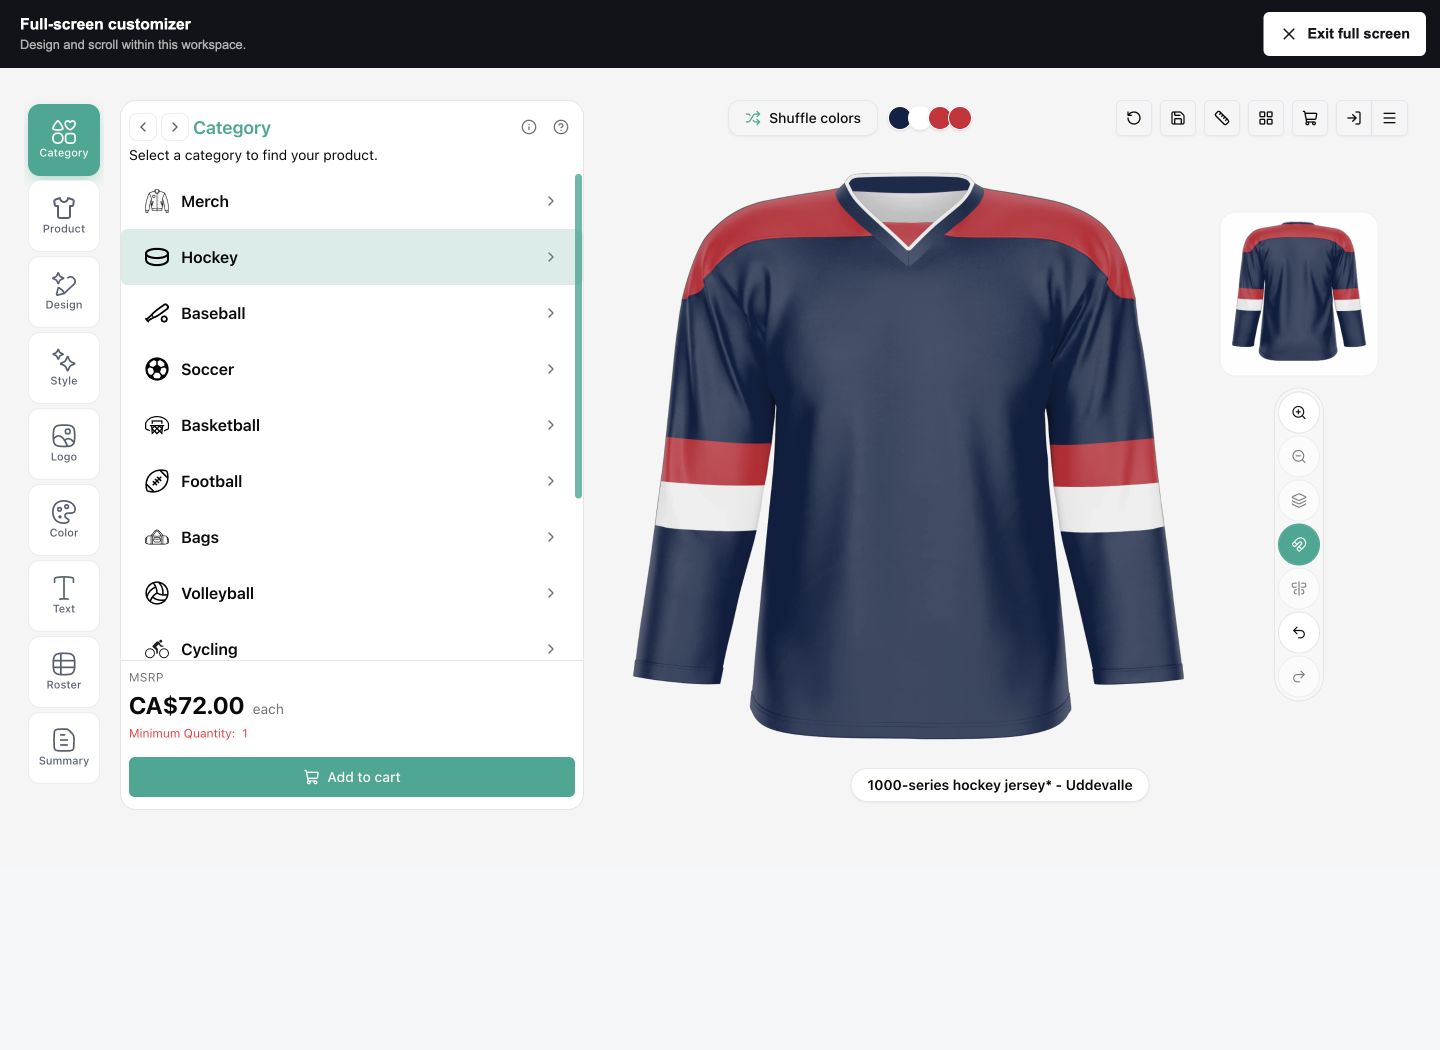
Open Category and choose the group that fits your order, such as Hockey, Baseball or Apparel. This narrows the product choices.
Choose the actual garment
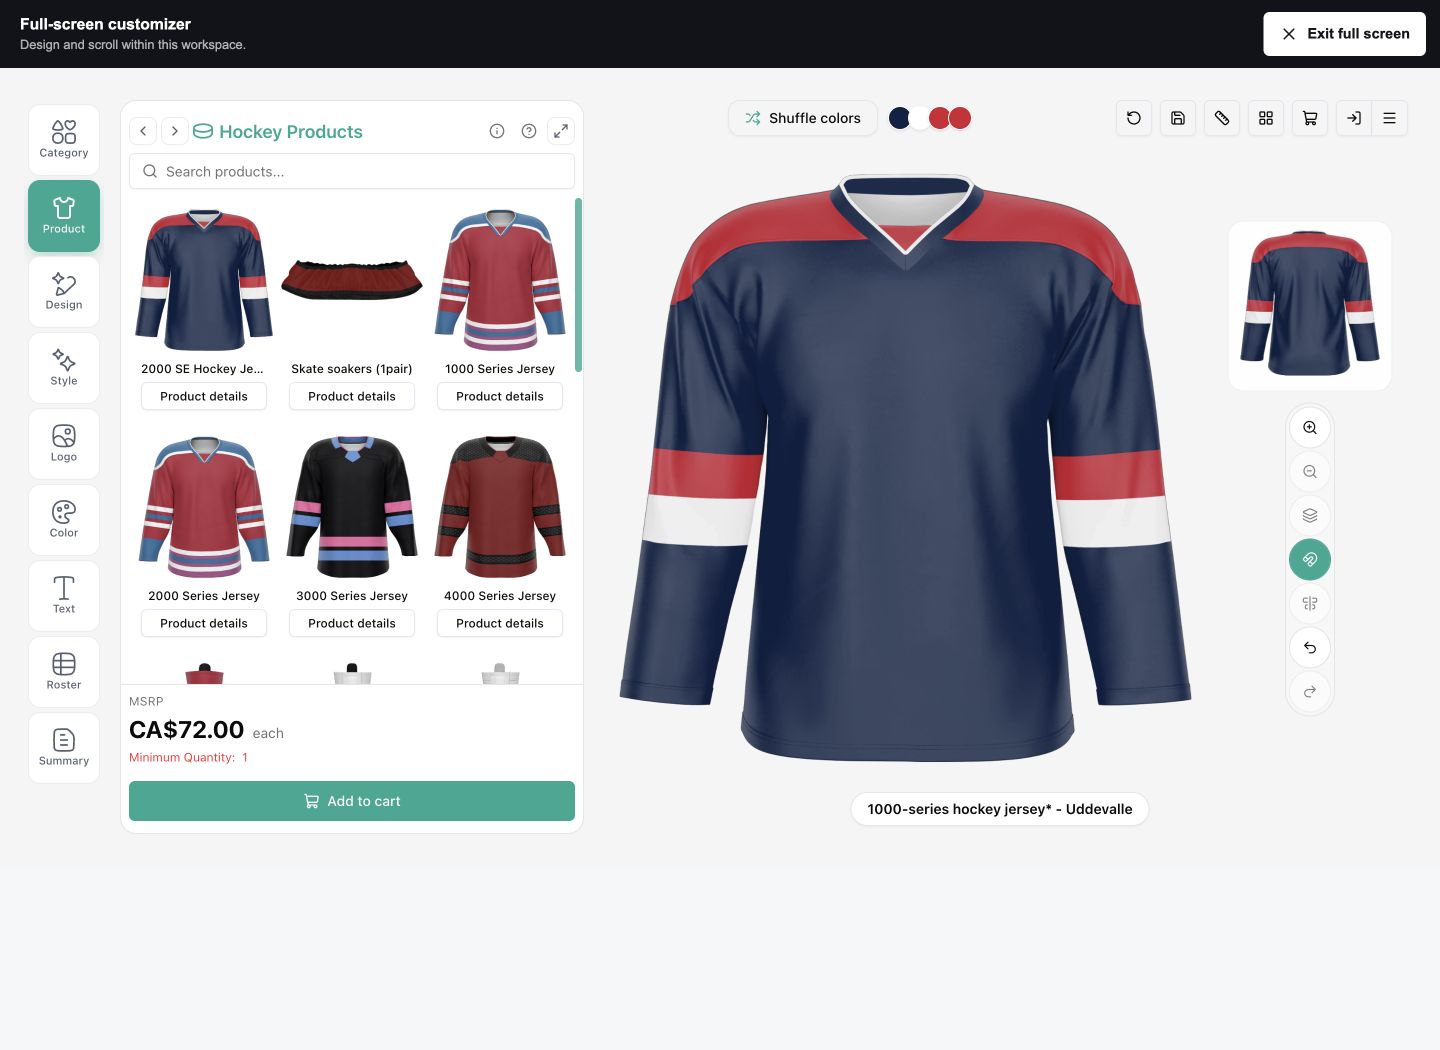
Open Product, browse or search, and choose the garment you want. Check its product details and size chart. This example uses a 1000-series hockey jersey; other garments can have different menus and options.
Choose a design
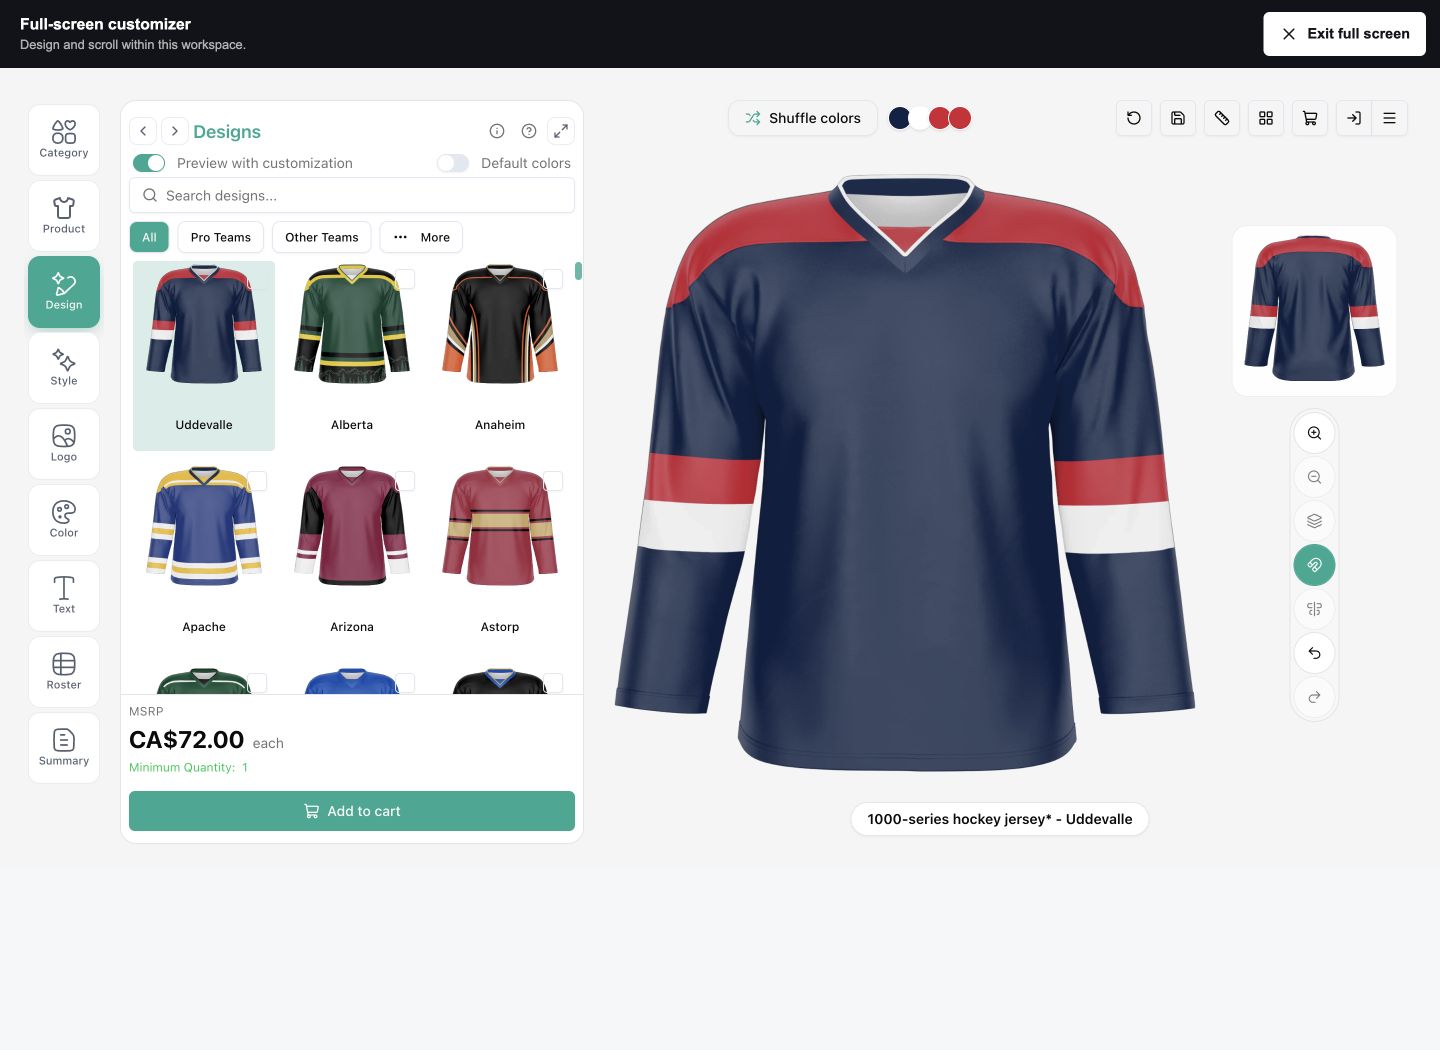
Use Design to browse the layouts for your garment. Search or use the filters to narrow the list. Check the garment preview after selecting a design. Preview with customization shows thumbnails with your current customization applied.
Check construction and optional extras
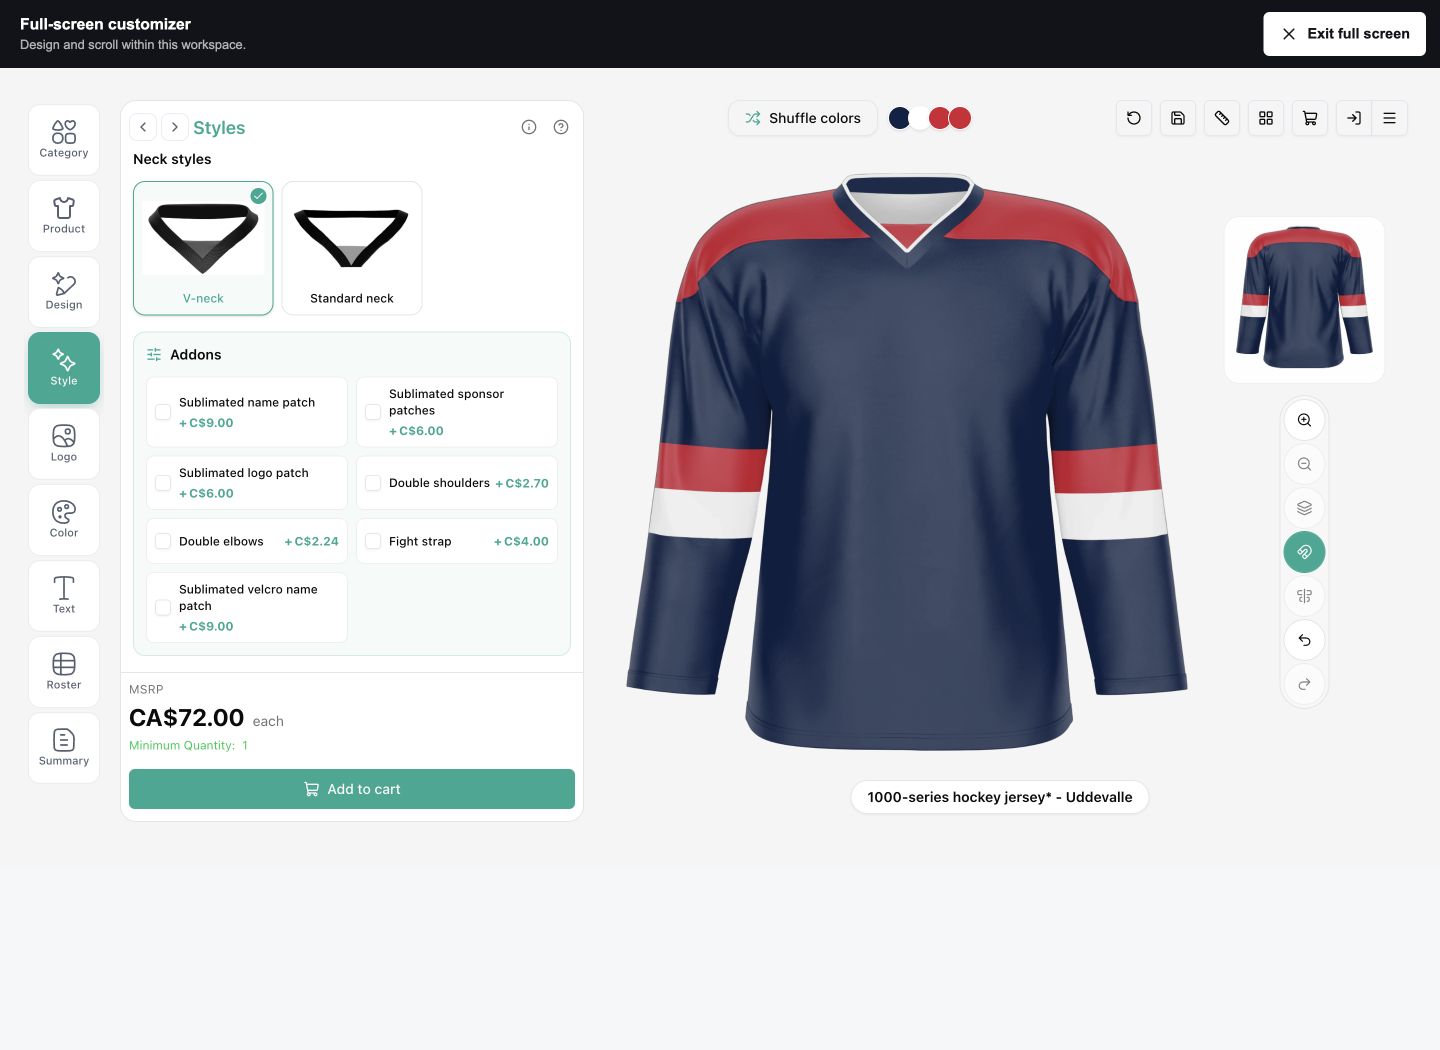
If your product has a Style menu, review the choices it offers. This hockey jersey has neck styles and optional add-ons. Select only the extras you want; some have an additional charge.
Add your finished logos
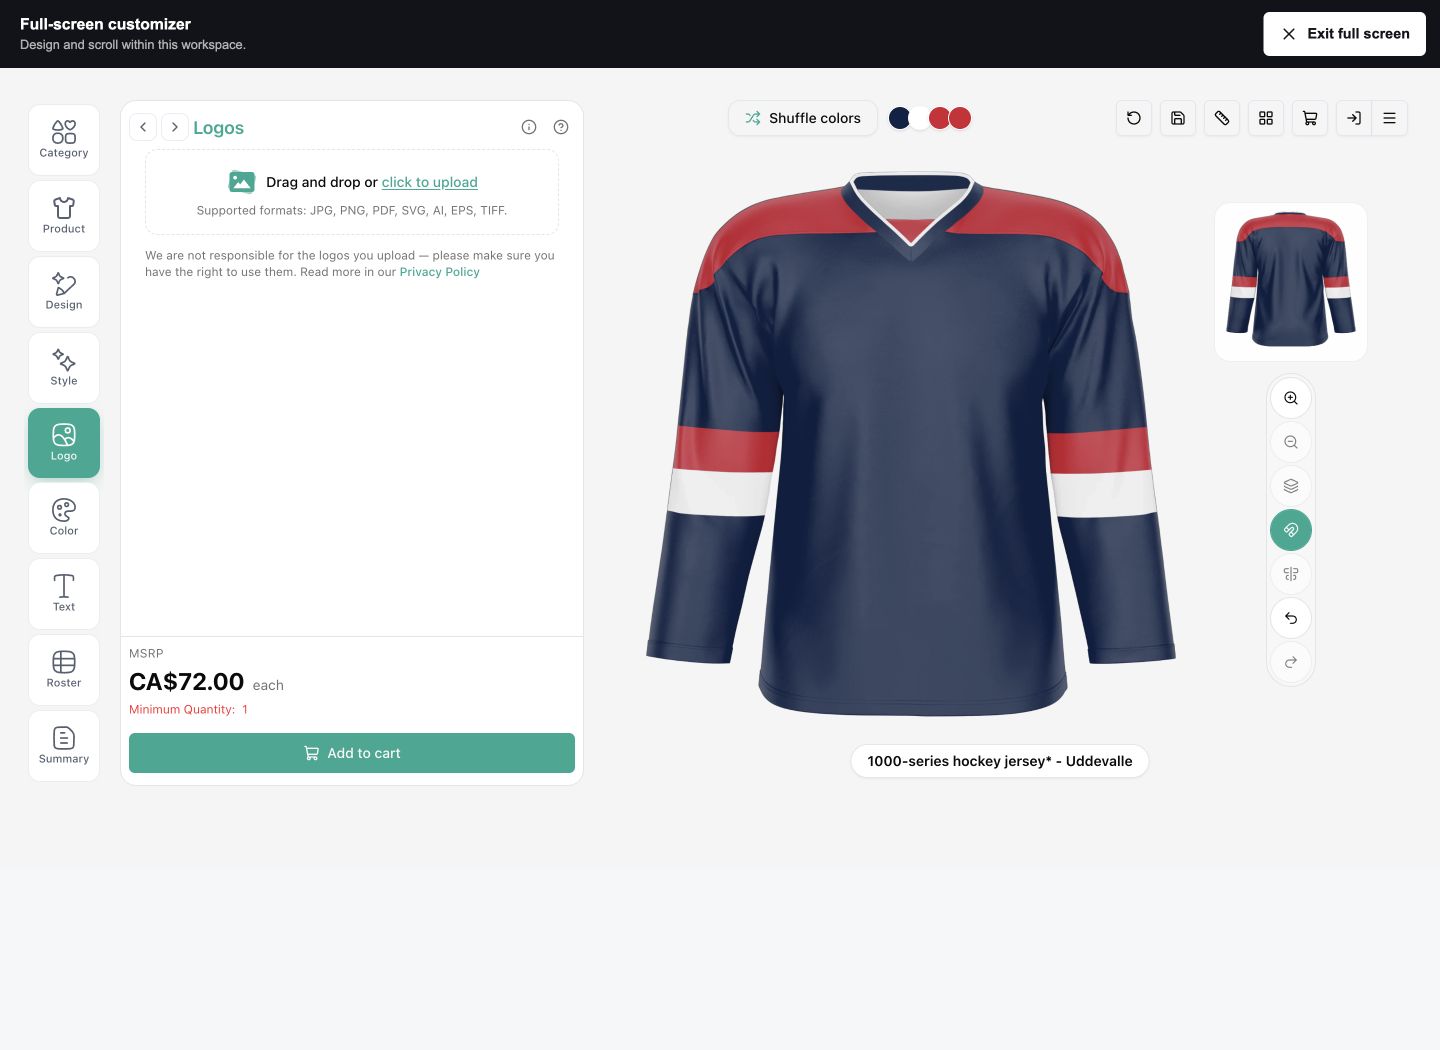
Open Logo to add your supplied, print-ready logo using click to upload or the supported drag-and-drop area. Check its placement, size and appearance on every relevant side of the garment. PA Fastprint does not create, edit or repair artwork.
Set the garment colours
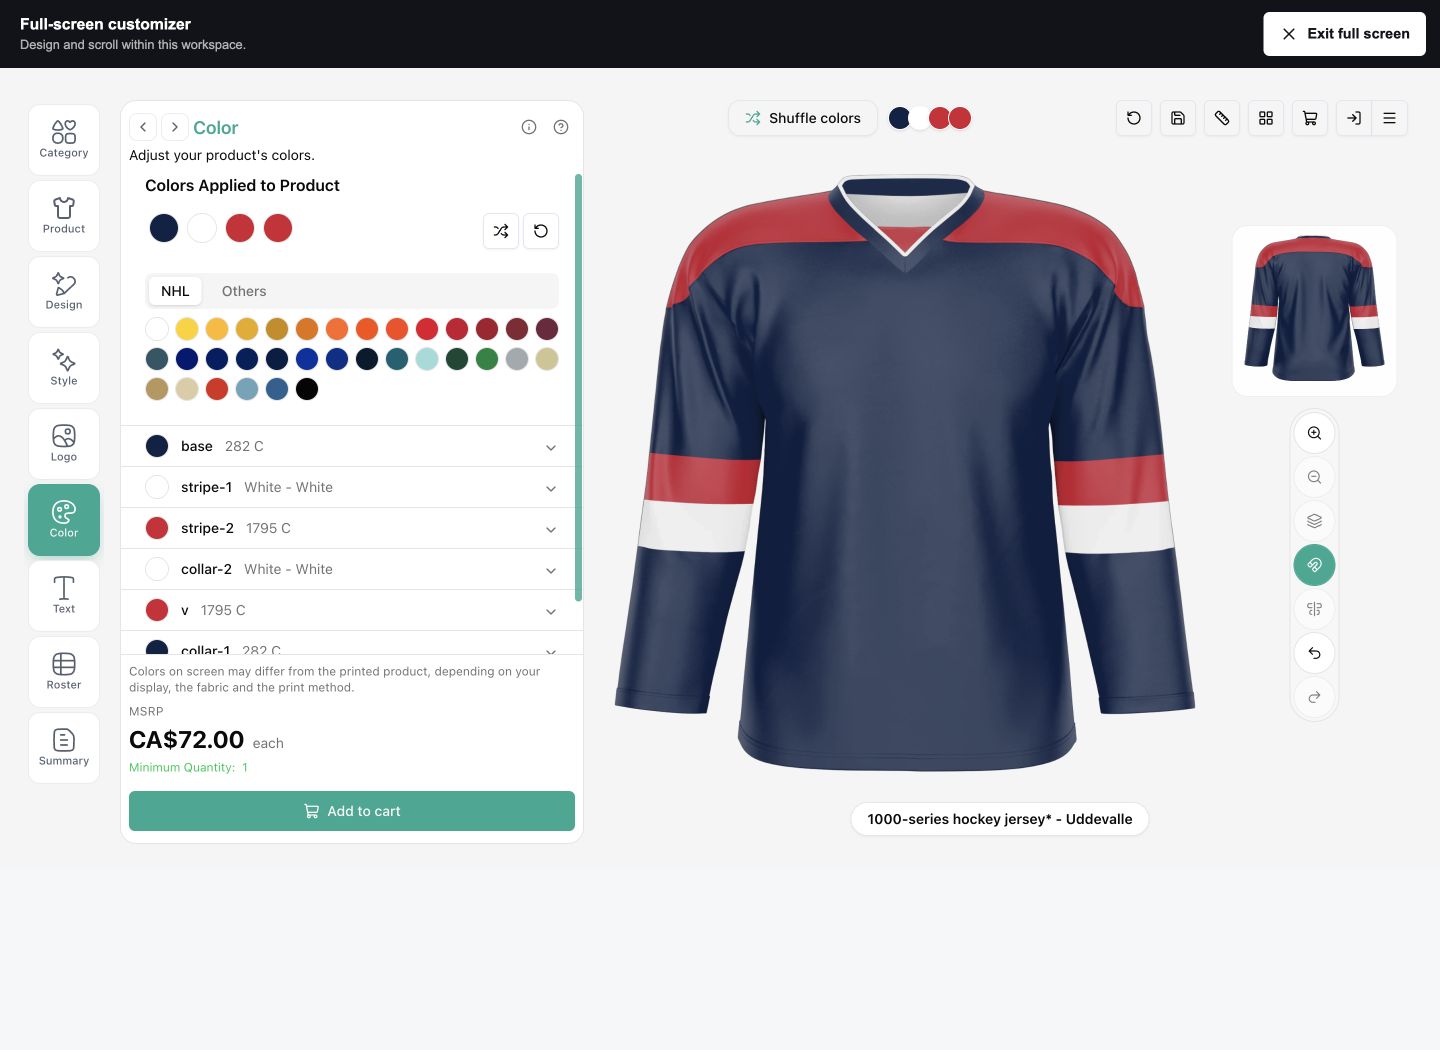
Open Color if it is available. Select the part of the garment you want to change, then choose a colour. Check each area and both sides. Screen colours can differ from the finished printed fabric.
Set the lettering and number appearance
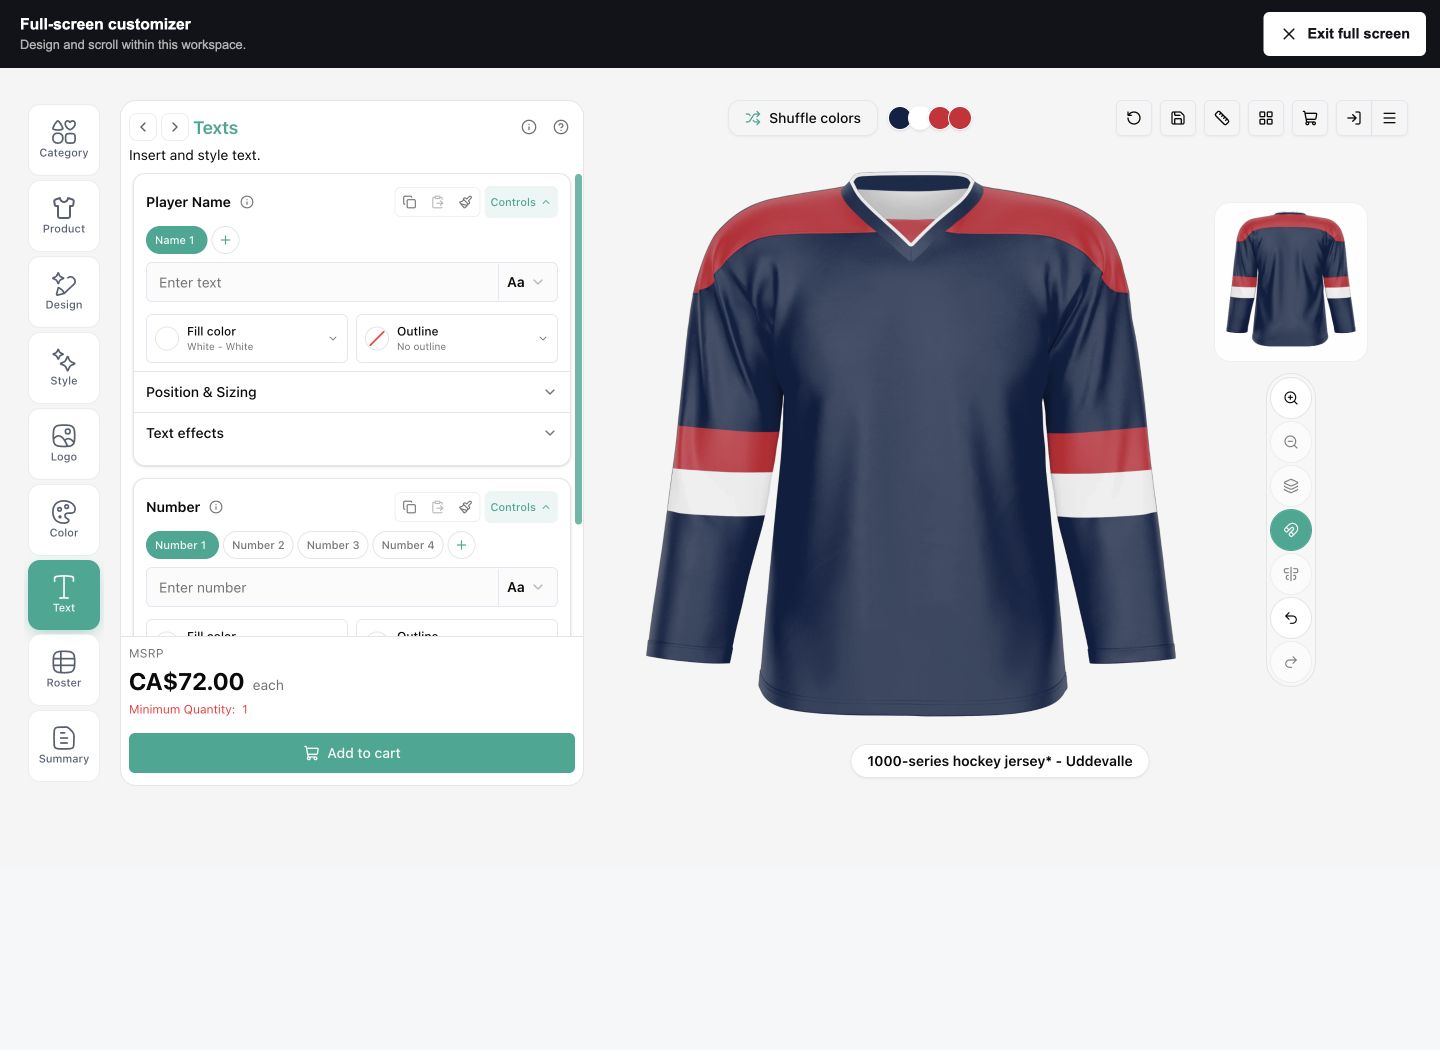
Use Text to check the available lettering, number styles and positions. Inspect both sides. A sample name or number in the preview does not replace the individual entries in your roster.
Choose sizes and quantities
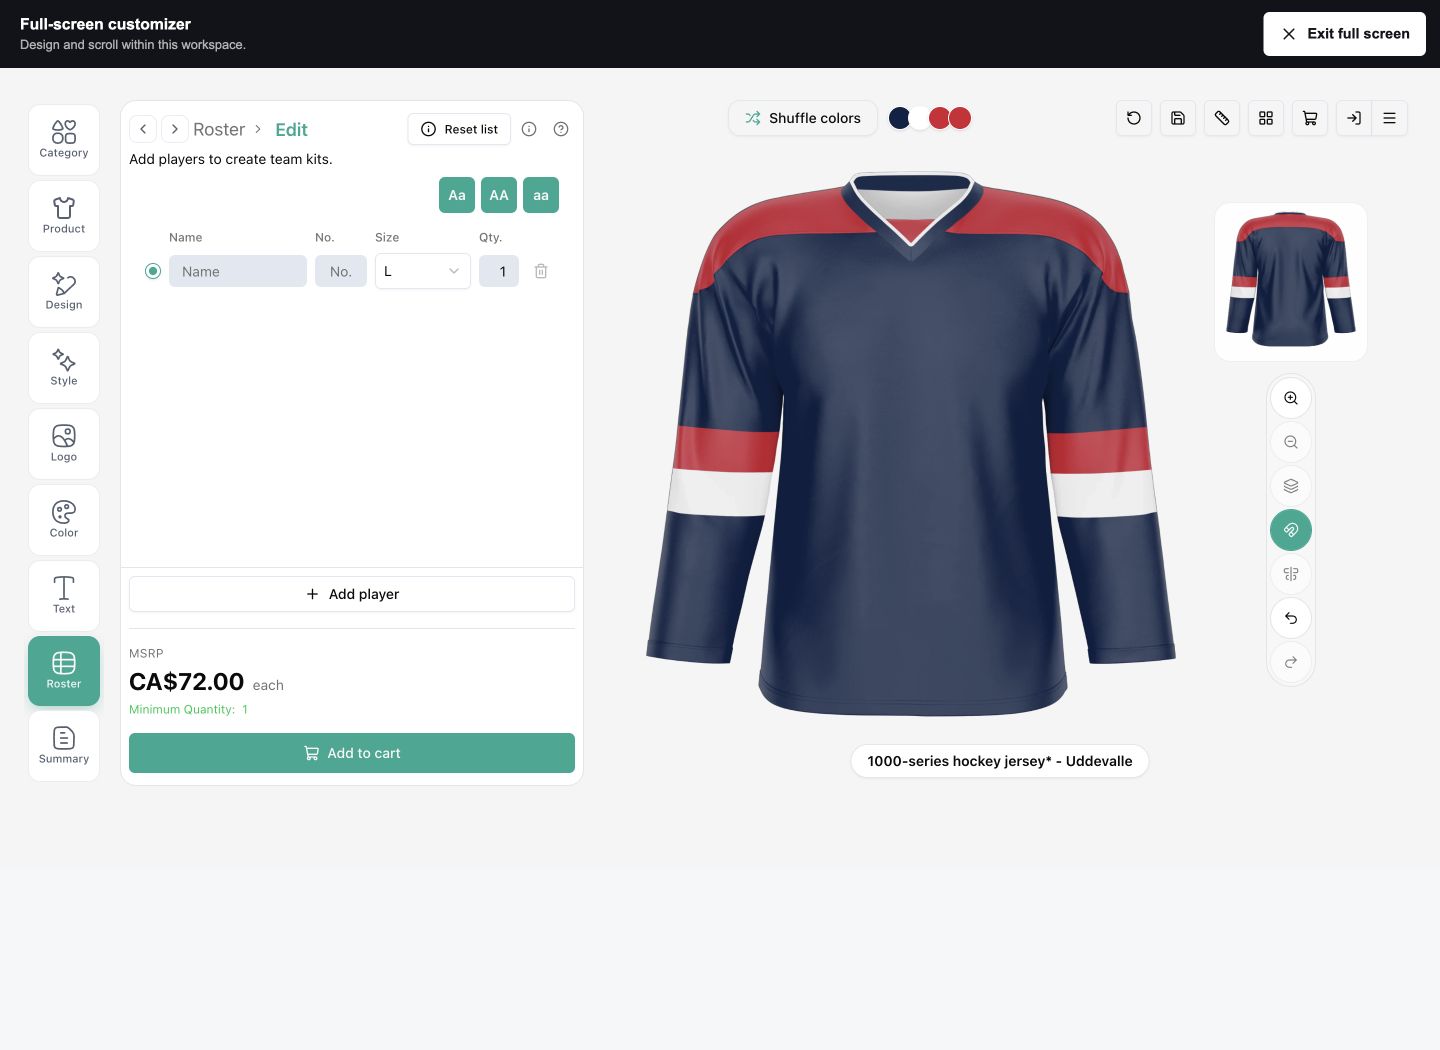
Open Roster, then Create manually or Continue editing. In this example, select L (Large) and set Qty. to 1. Enter Name and No. only if you want them printed; otherwise leave them blank. Use Add player for each different name, number or size. Check the product’s size guide and make sure every name and number matches the correct size. Add up the quantities before continuing.
Review the whole order before continuing
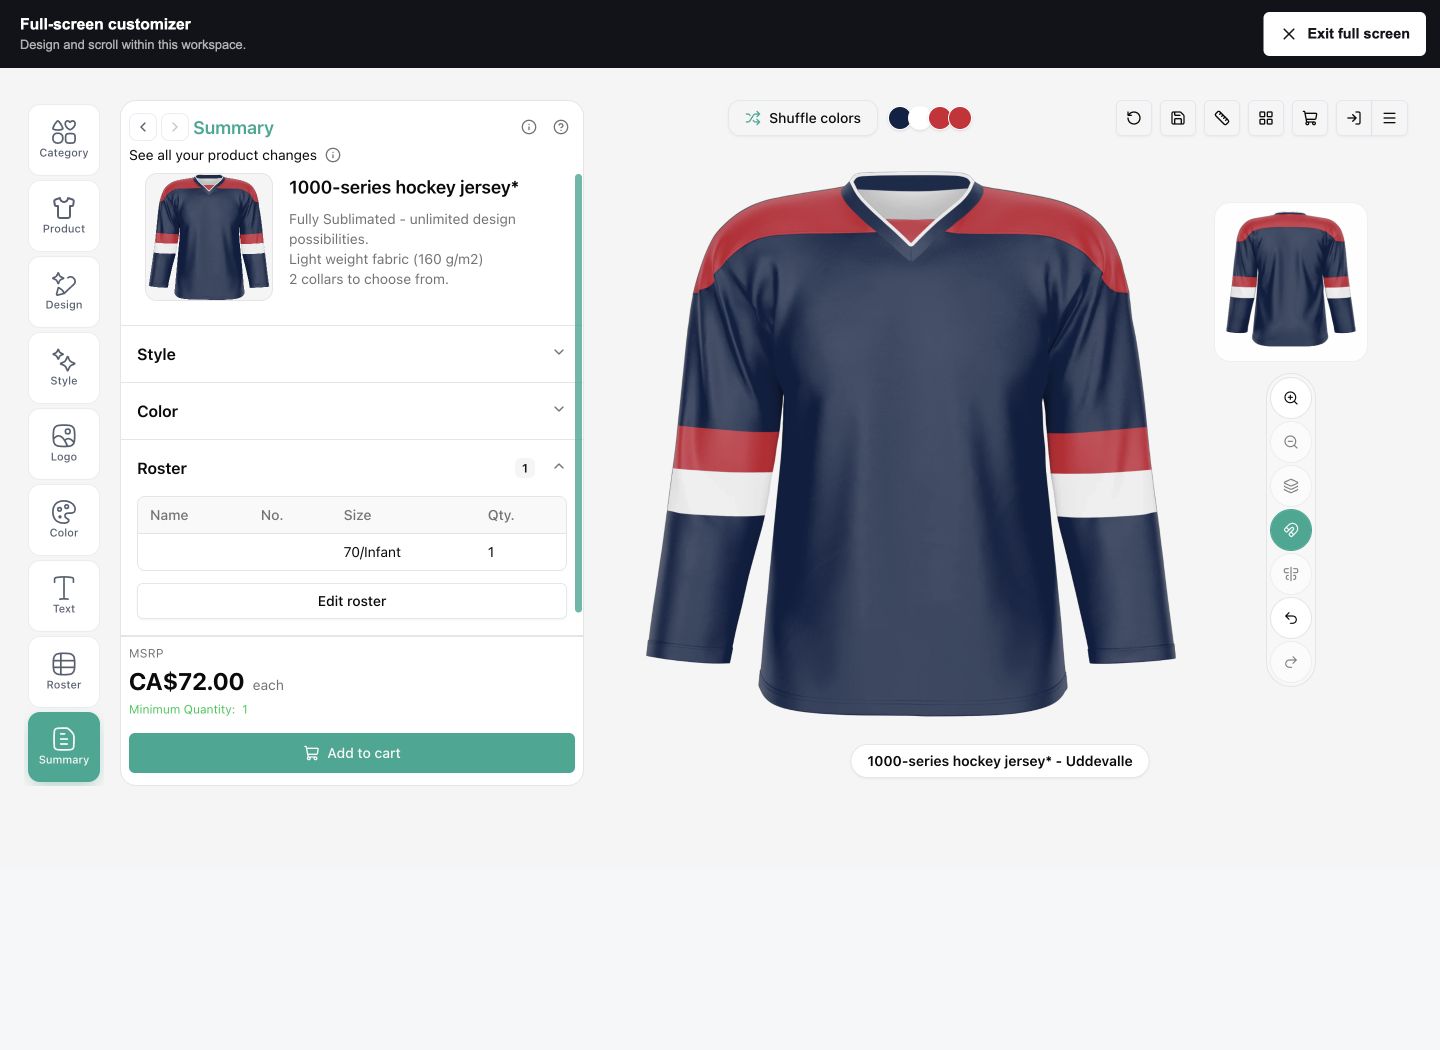
Open Summary and expand its sections. Check the garment, design, style, colours, logos, lettering and roster. Total the quantities and make sure each name or number belongs to the correct size. Return to the relevant menu to correct anything before continuing.
One last check
- The product and design are correct on every side.
- Names and numbers match the intended sizes.
- Quantities add up, and no unwanted example text remains.
- Only the extras you want are selected.
Add to cart continues the process; it does not by itself confirm that PA Fastprint has received a request or approved production. Complete the remaining instructions shown by the tool. If you are unsure, contact PA Fastprint with the garment and order details.
Open the uniform customizer (opens a new tab)